Best Business Podcast Equipment Setup
Hey everyone! Jeremy Wellman here. I'm your Audio/Video Manager here at Sweet Fish.
https://www.youtube.com/embed/0PC9igiclE4
We know that setting up audio equipment can be like putting together Ikea furniture, so I'm going to walk you through your podcast setup.
Here's the podcast equipment we'll be going over today:
- Microphone Inventory (ATR2100 Audio-Technica)
- Headphones Inventory (LyxPro)
- Shock Mount Inventory (On-Stage)
- The Complete Podcast Setup
Podcast Microphone Inventory (ATR2100 Audio-Technica)
First up is your microphone, the ATR2100 Audio-Technica. Let's get 'er open! Start by cutting the tab at the top of the box and unfolding it. Take everything out to do a quick inventory.
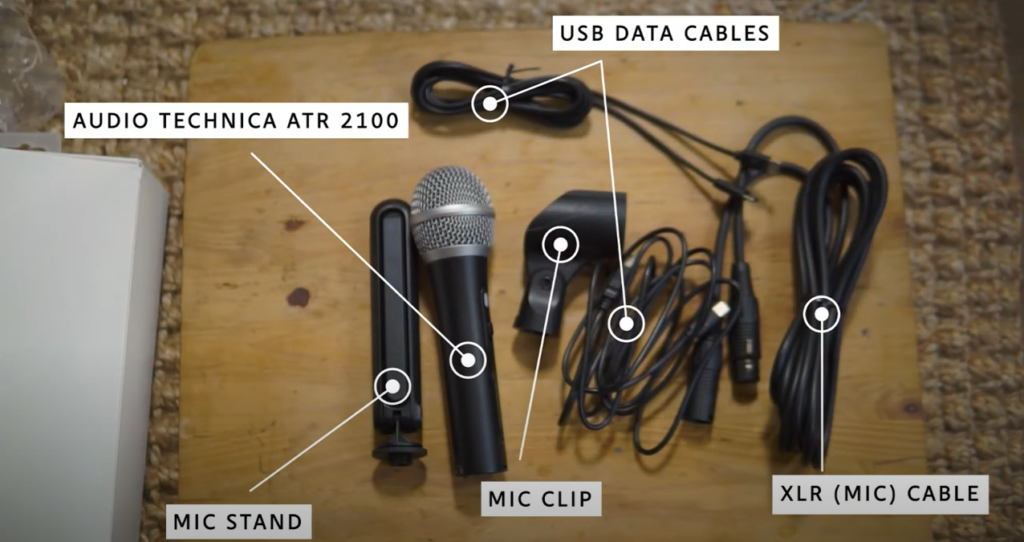
What you should have:
- Audio-Technica ATR 2100 (the mic)
- Mic stand
- Mic clip
- XLR (mic) cable
- USB data cables
Got it all? Let's move on to your headphones.
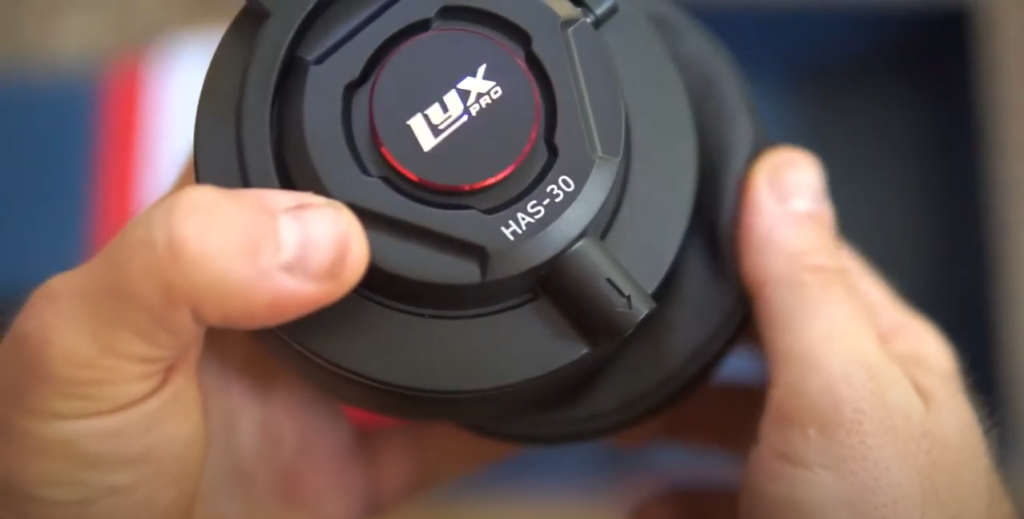
Podcast Headphones Inventory (LyxPro)
Next up are your LyxPro over-the-ear professional headphones. These come in a handy box with a list of everything inside on the back.
In order to get into them, you'll have to deal with the interesting tabs on the side. The best way to do it is to push down in the middle of the box while you pull up on the sides.
Next, the little tab on the side is held together by a magnet. Try turning the box up on its side and just pull the tab. The box should open up, no problem.
While taking inventory, pay close attention to how things come out of and go into the little compartments.
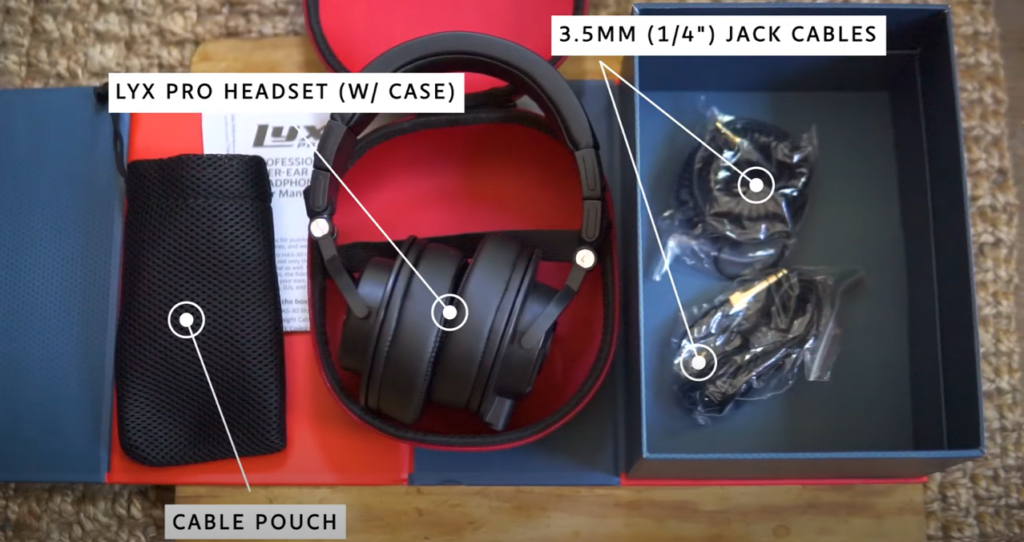
What you should have:
- LyxPro headset w/ case
- Cable pouch
- 3.5mm (1/4") jack cables
Jack Cables
Now, go ahead and remove the 3.5mm jack cables from the plastic. When you compare them, you'll notice that they're pretty much exactly the same.
On one end, note the adapter that changes the 3.5mm jack to a 6.35mm jack. The thread on each of these cables will show you where the adapter goes and when you take off the adapter, they look exactly the same.
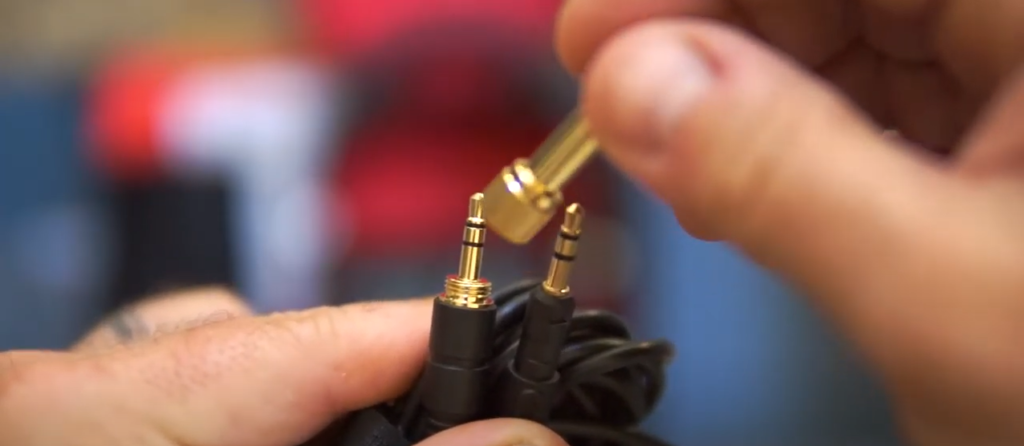
The only difference you'll find is that one of them has the cool accordion feature in its cord. If you have an input that requires the 6.35mm jack, you can just screw the adapter back on to the appropriate cable and plug it into the larger input.
Headphones
Now for the headphones themselves (these jokers are cool).
They contour to your head and turn in a lot of different directions to make them more comfortable to wear. But, when you first remote the headphones from their box, there's a temptation to bend them a little too far and you could break them... so don't do that.
The headset also indicates the left and right sides, so there's no confusion.
You might also notice that these headphones don't have a cord coming from them like most that you've seen. Check each side and locate the input because you'll need it for the cords we just discussed.
Now find the cord without the threads on it. Line the arrows on each piece up, but don't go cramming the jack into the headset. It requires a quarter-inch turn counter-clockwise and then back in order to secure the line so it can't be pulled out.
Once you've had a chance to try out the locking mechanism with the microphone input cord, you can pack everything up and move on to our next piece of equipment: the shock mount.
Podcast Shock Mount Inventory (On-Stage)
The shock mount is what you install on your boom arm in order to hold the microphone in place. In typical unboxing fashion, you'll need to remove the tab on top in order to open the box.
Then, as usual, take everything out and make sure you have what you need.
What you should have:
- The shock mount itself
- Wind guard
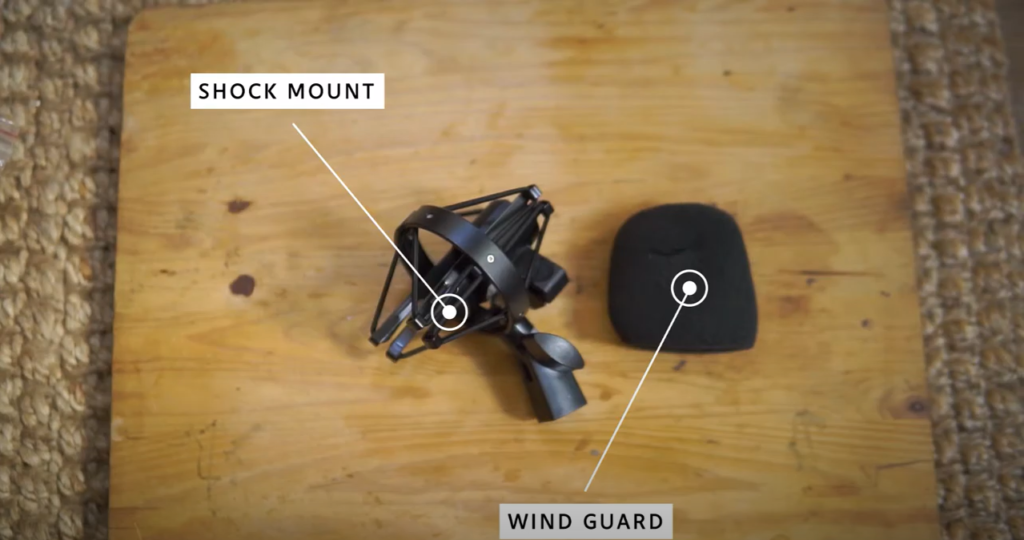
There's no further setup you need to do right now. In the meantime, check out the claw that holds the microphone in place and also play around with the knob on the side that you can tighten and untighten.
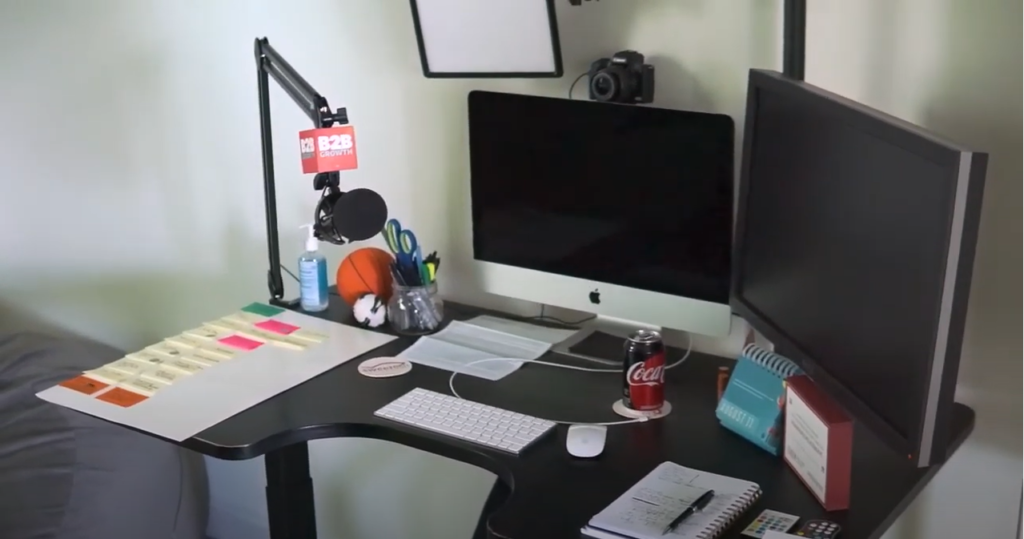
Now, let's move on to a real-life podcast setup (aka, James' office).
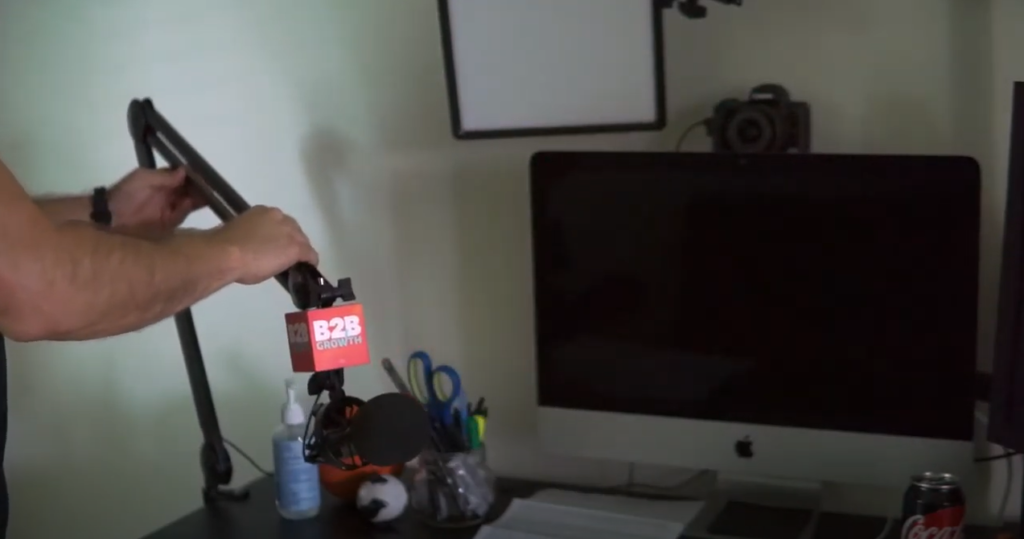
The Complete Podcast Setup
In addition to getting to see what a podcast setup might look like, we can take a closer look at the boom arm and the shock mount that you're going to put your microphone in.
Setting Up the Boom Arm
The boom arm should accommodate most table sizes. Let us know, though, if your table is too large. You can see that clockwise and counter-clockwise motions tighten and untighten the clamps so you can get it tight up against the table.
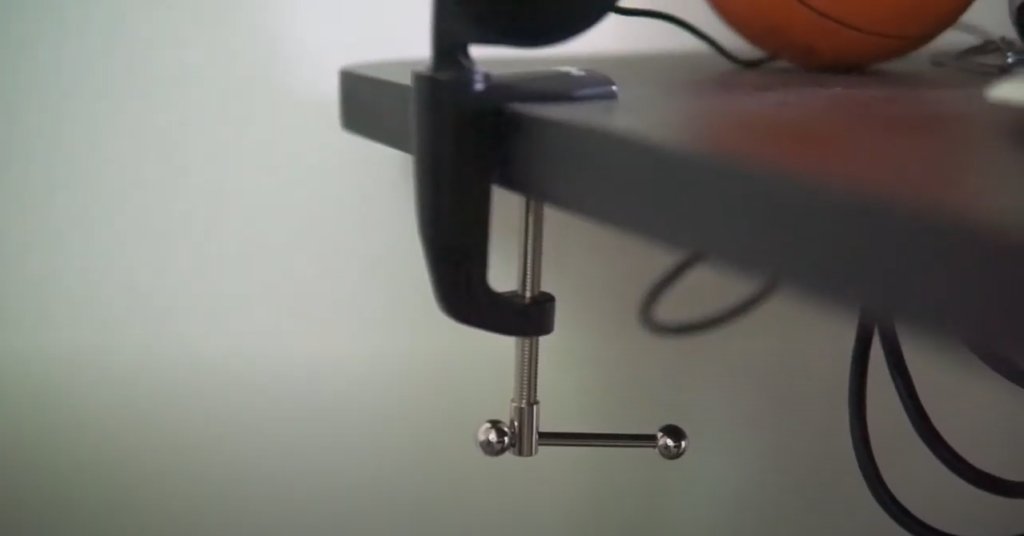
Righty, tighty. Lefty, loosey.
Make sure that the boom arm is snug to the table to support its weight. If you ever need to remove it, just reverse the process. Once you've tightened the clamp, it should be as simple as inserting the boom stand and making any needed adjustments.
The boom stand is spring-loaded which means it should be pretty easy to move up and down, left to right. This should allow you to put the mic in a place where you can speak into it while comfortably seated or standing.
If it doesn't move where it needs to go, you might need to reposition the clamp in order to accommodate.
If you're interested in hiding the USB or XLR cables that run to the microphone, there's a small plastic tab that can be pulled out on each section of the boom stand. This will allow you to run the cable inside the boom arm itself.
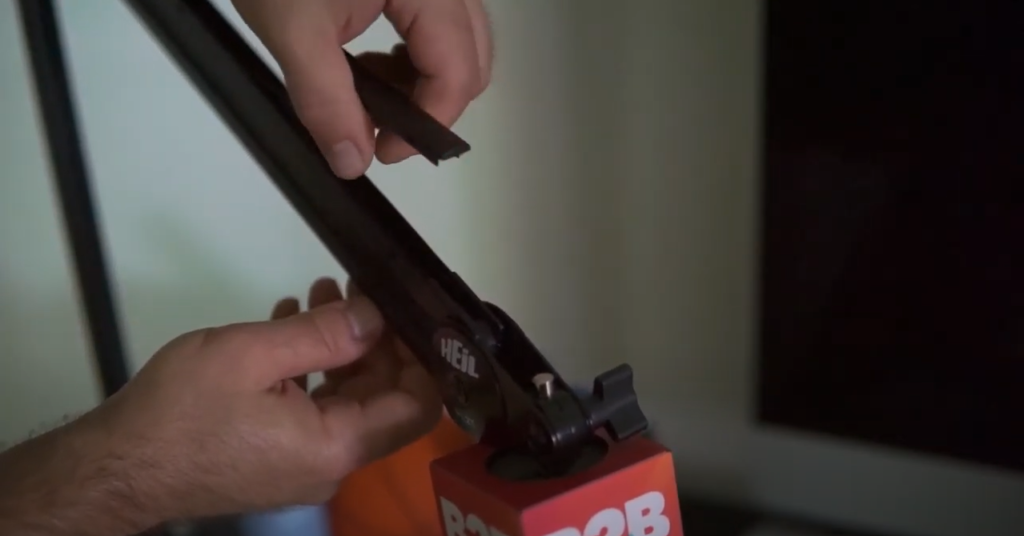
It should be fairly easy to remove and pops back on by applying just a little bit of pressure.
Testing Your Mic
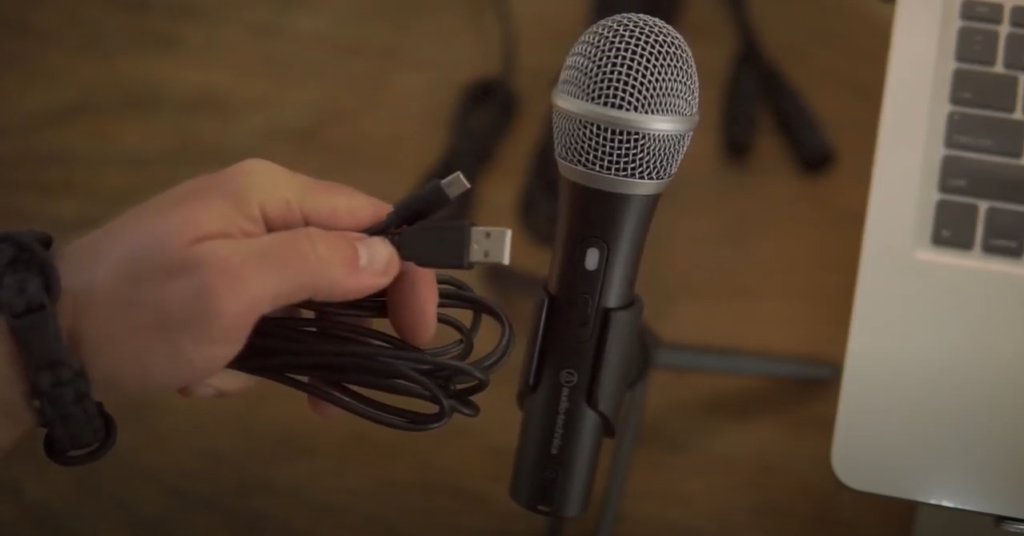
Before we worry about attaching the microphone and the shock mount to the boom arm, we need to test your microphone using the USB cables and the stand within your kit.
You should have a USB 2.0 to USB-C which plugs into the end of your microphone AND a USB-C to a USB-C.
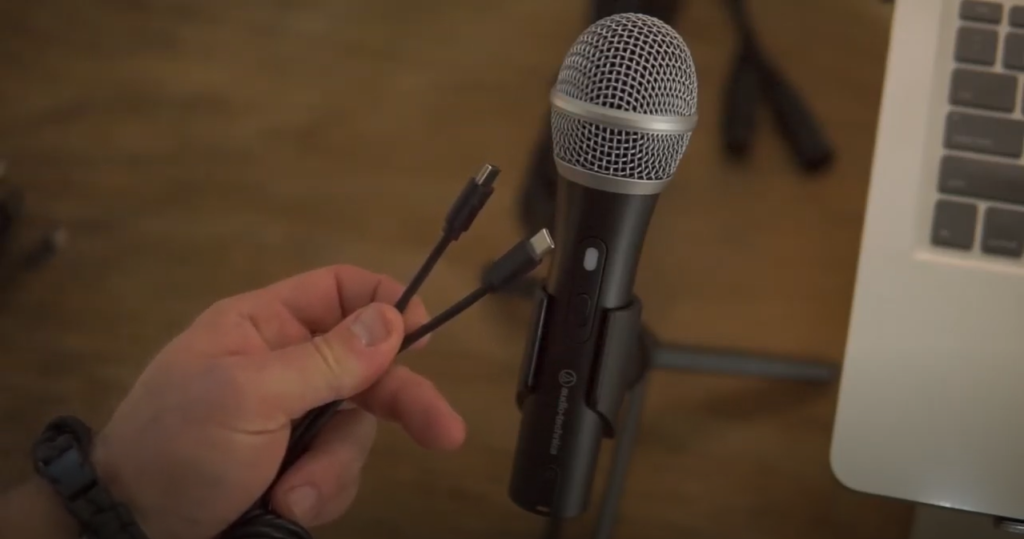
You'll need to determine whether your computer takes the USB 2.0 or 3.0, or the USB-C in order to connect the mic to the computer. You also have an XLR cable, so if you have some sort of digital audio interface, you can connect via that cable.
My computer still takes the more common USB 2.0, so I'm going to use the USB-C to USB 2.0 cord.
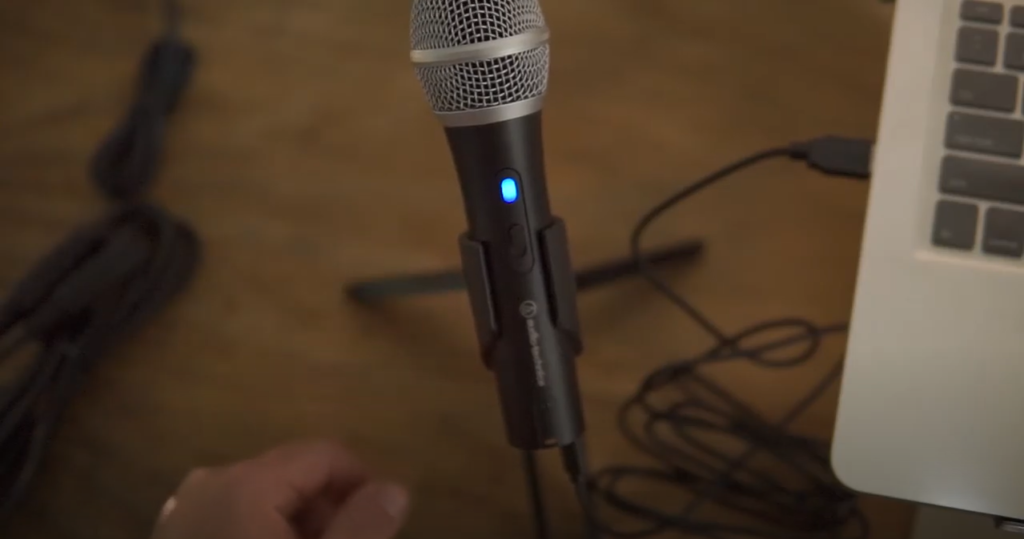
Plug in the micro USB-C cord using the small port on the bottom of the microphone. When you plug in the USB 2.0 to your computer, the blue light should illuminate on the mic.
Another important feature is the on-and-off switch. Make sure it's switched on if you want sound and then you can turn it off whenever you don't want it to transmit anything.
In order to test the microphone's input, you'll need to access the System Preferences on a Mac or the System Settings on a PC. I have a Mac, so I'll access my sound panel through my System Preferences. It'll show me the different inputs I have available.
Make sure you've chosen the Input tab in order to correctly connect to the microphone. Otherwise, you're not going to get any sound.
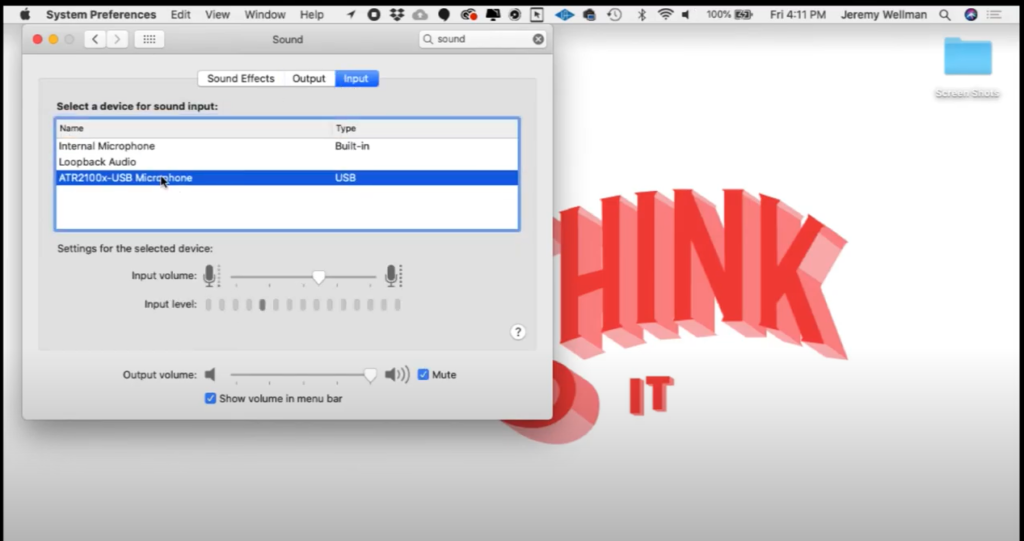
Once you switch your microphone on, you should see the input level bounce - that's how you know it's working.
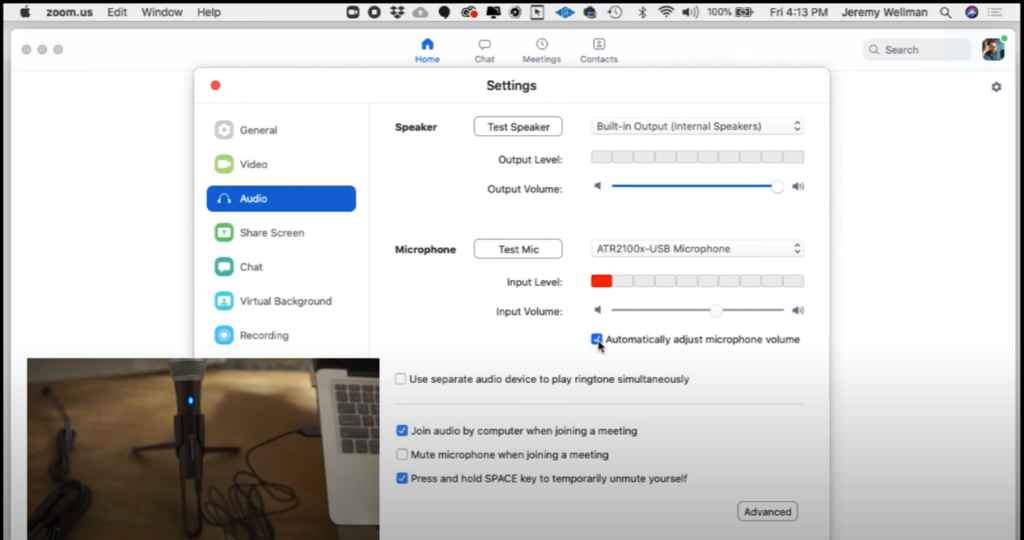
You'll also notice that checking your mic is very similar on other platforms like Zoom and Riverside. You simply access the preferences and select the proper input in order to use the microphone.
[RELATED: Learn how to record on Riverside.fm.]
Selecting the microphone from the drop-down menu will allow you to test the level inside the platform as well. It's also a good chance to check out the volume knob on the bottom of the mic. Pressing it left and right lets you see it toggle on your screen.
Deselecting Automatically adjust microphone volume allows you to adjust the input for the mic manually. It's usually unnecessary, though, because the computer does a good job balancing this.
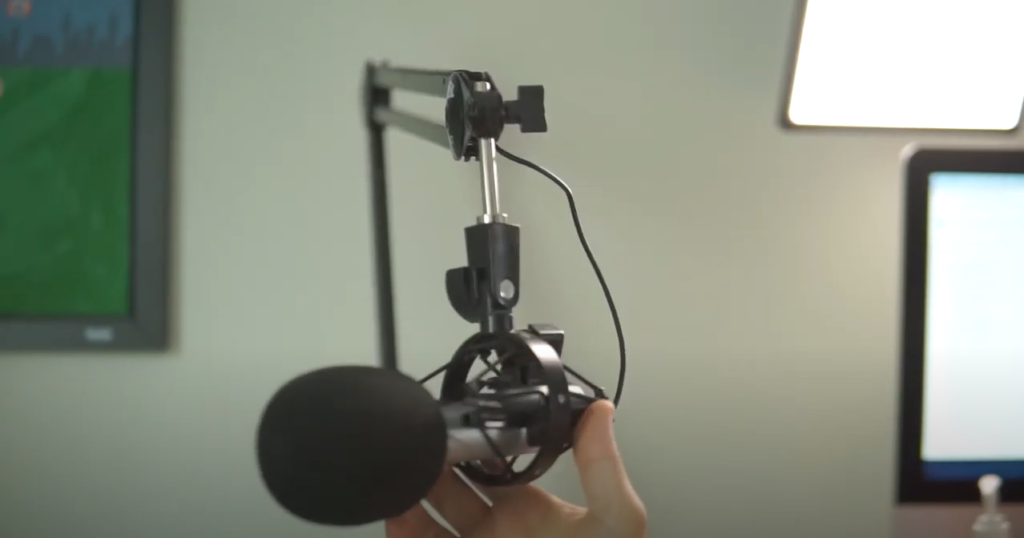
Setting Up the Shock Mount
Finally, the last piece is the shock mount.
If you flip it over, you'll see the screw threads that match the screw threads on the boom arm. Just match the screw threads up and start turning it clockwise in order to get it on there all the way.
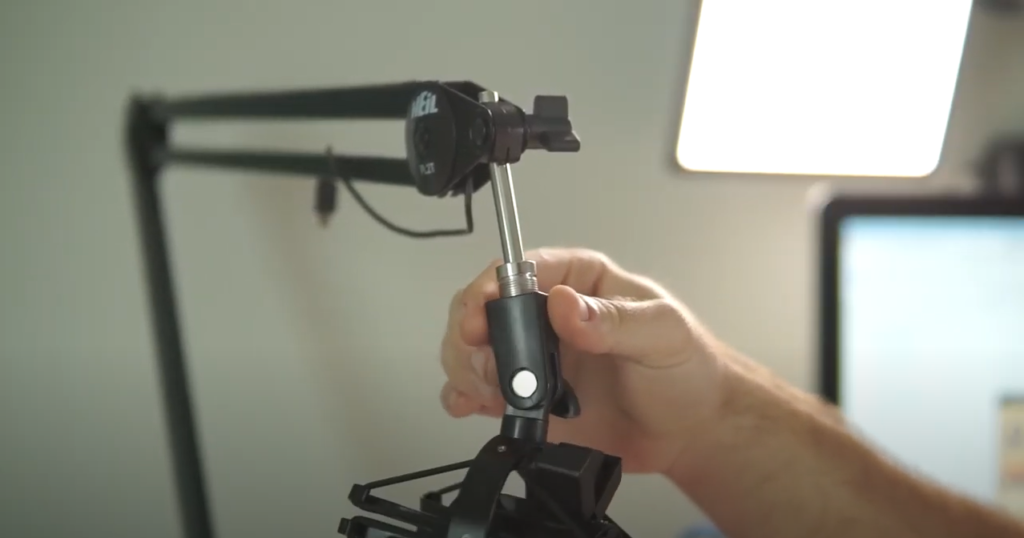
Once you have it on nice and snug, the screw at the top will allow you to move the mic. Loosen it to let it articulate up and down, left and right. Then, you can tighten it down once you have the mic and the shock mount in the best position for you.
If you've managed to score one of those cool microphone flags, now is the time to put it on. Just run the cable through it and slide it over the boom arm screw threads before putting the shock mount on.
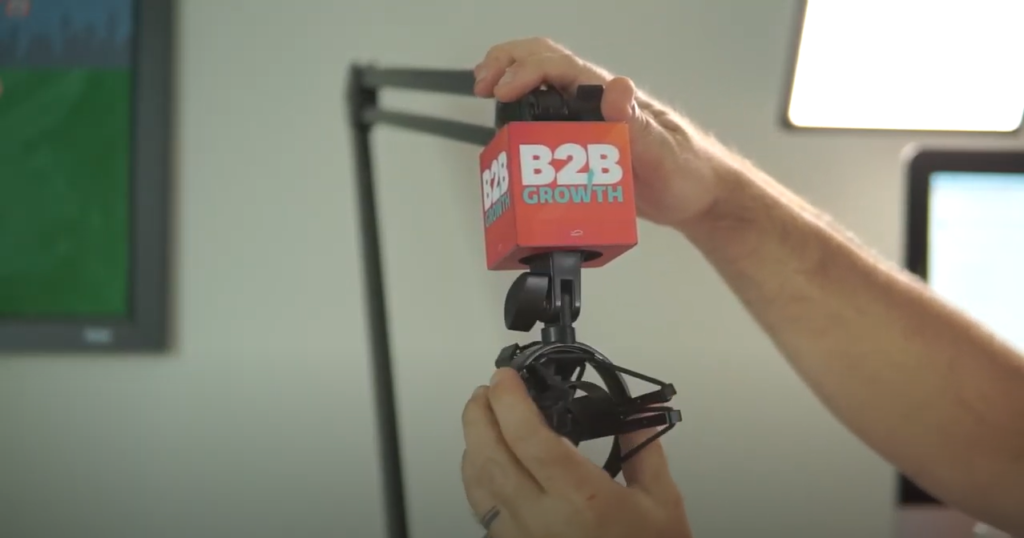
The shock mount goes on the exact same way. We just have to be a little more diligent about matching those threads before we start to screw it on.
The last step is inserting the microphone. The little clip that I showed you before is what's going to hold the mic in place. Just squeeze open the clip, slide the microphone in, and you're ready to go.
Don't forget to add your wind guard, check for articulation on the mic, and be sure to plug your data cable back into the mic so it's actually connected to your computer.
Flipping the mic around means that you're ready to start podcasting!
Questions About Podcast Equipment
If you have any questions about the podcasting process or setting up equipment, feel free to reach out to your Producer, or me (Jeremy Wellman) at jeremy@sweetfishmedia.com.
For more on #HowtoPodcast, subscribe to B2B Growth on Apple Podcasts, Spotify, or wherever you listen to podcasts.podcastpoppopop