
If only life had 5 tips for quality results like PMI testing does; we would all be killing it!
Fortunately, for us metalheads, there are 5 clear-cut solutions to producing quality PMI testing results.
PMI (Positive Material Identification) testing is the analysis of materials to determine the chemical composition of a metal or alloy at particular (usually multiple) steps of alloy manufacturing or in-process alloy installation.
Knowing the exact composition and grade of an alloy enables suppliers, plant workers, and other responsible parties in the chain of custody match alloy specifications that are chosen for their specific properties such as heat resistance, corrosion resistance, durability, etc.
PMI is a great option for confirming the alloy or type of large batches of material, testing finished components, re-certifying materials, and evaluating materials that cannot be destroyed, or shipped to a lab.
The right alloy with the right properties is often all that stands between safe, efficient operation and lost time and revenue.
How to ensure quality PMI testing results? To ensure quality PMI testing results, complete these steps:
- Prep the sample by grinding and cleaning the surface.
- Make sure the instrument makes direct contact with the sample.
- Keep test times consistent.
- Perform daily check samples with your PMI instrument.
- Schedule regular preventative maintenance and recertifications.
Today I'm going to be giving you some tips on how to ensure quality testing from your PMI equipment on a consistent basis. This approach will give you a level of confidence in your results that you just will not get otherwise.
Psst: This post is based on a podcast with co-host Chris Carolan. To hear this episode (and more like it), subscribe to The Manufacturing Show on Apple Podcasts, Spotify, or wherever you listen to podcasts.
“The main tip I can give to any PMI testing technician is to focus on sample preparation. We don't see it done nearly enough.”
Chris Carolan
TIP 1: Clean the sample’s surface to access the base metal
All three PMI testing techniques are surface measurements.
That means that the quality of the surface you are testing directly impacts the quality of your test and the result you're going to get.
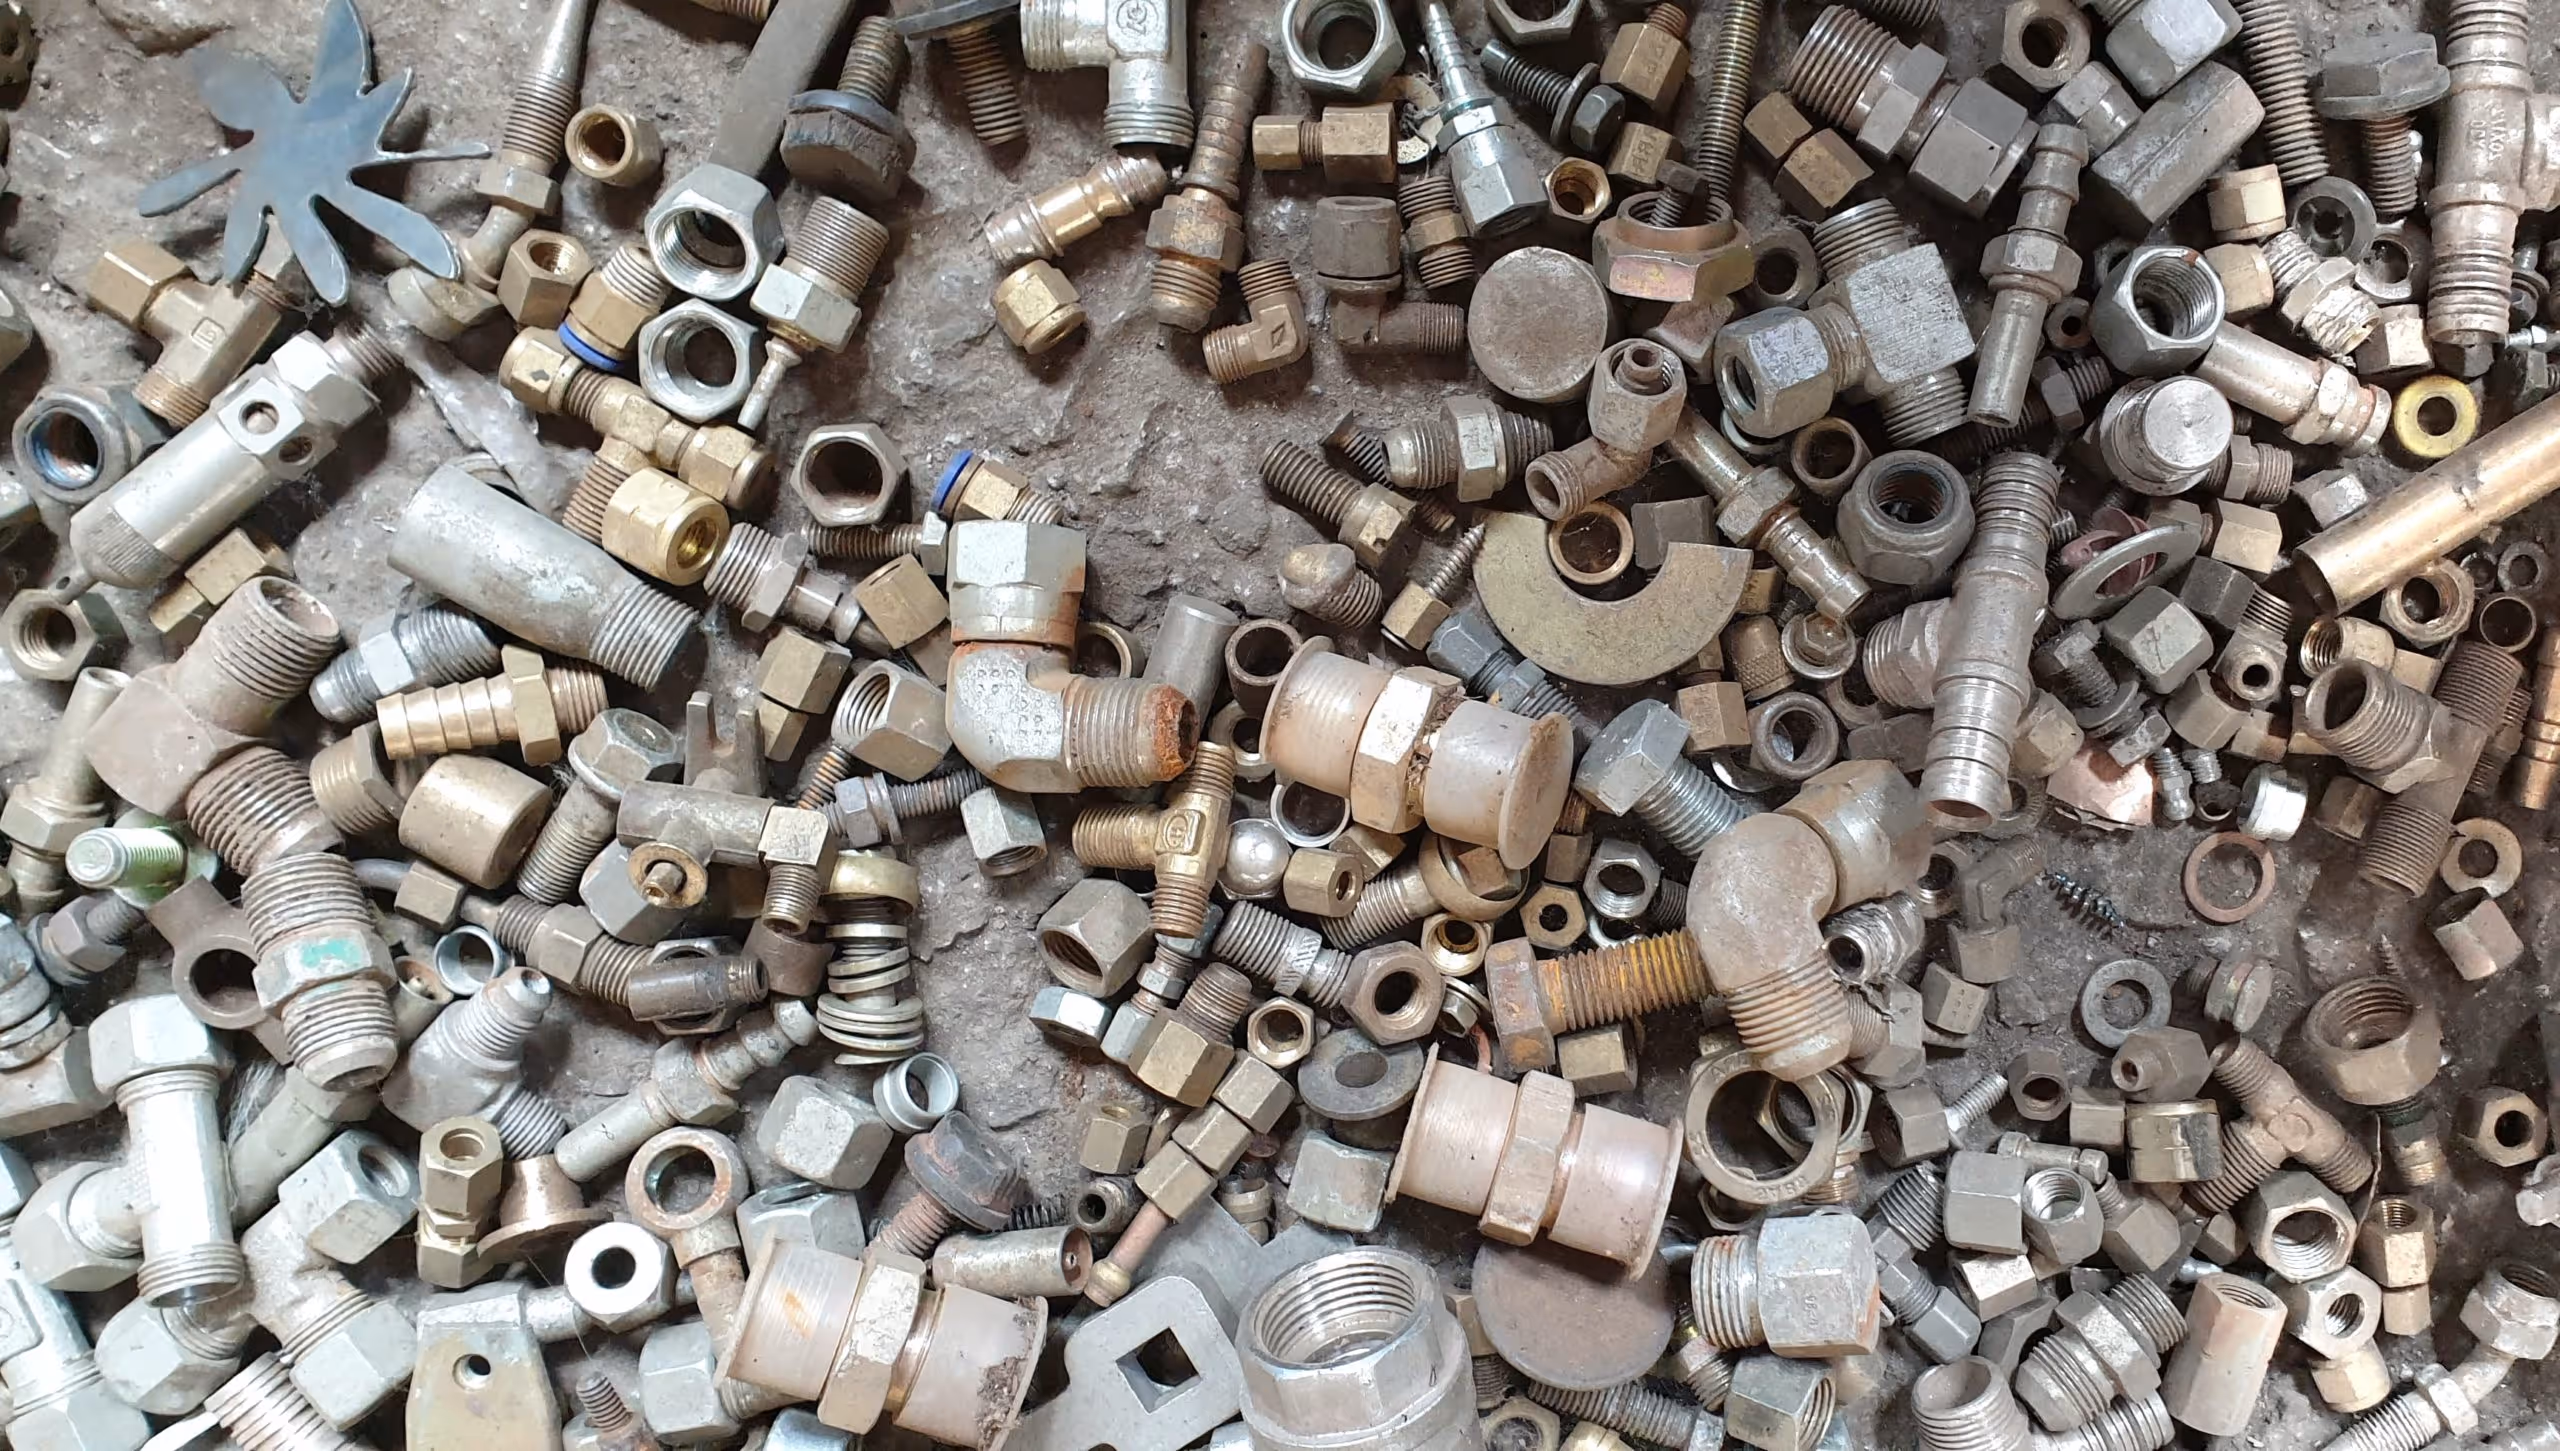
So first of all, samples must be clean with the base metal showing and uncoated.
You may be surprised at how many samples are not actually ready to shoot as is.
Just because you're seeing a result on your screen doesn't mean you're getting the right result.
Taking the time to prepare your sample properly sets the stage for your results.
Shortcuts at this stage will only make the end results less reliable.
Potential surface issues:
- dirt
- rust
- corrosion
- paint
- coatings
- other build-up
Making sure your sample is clean and flat is the first step. Simply wiping the sample off with a clean rag can remove any water, dirt, or dust.
Cleaning away any surface issues is the best way to begin.
TIP 2: Grind the sample when necessary
For coated, oxidized, anodized, or plated samples, the most common sample prep method for metals is grinding.
Grinding removes the entire surface layer to expose fresh base metal and can also help with cast items.
It’s important to choose the correct grinding materials.
Some tools that can get the job done:
- A Dremel rotary sander
- Angle grinder
- Belt sander
- Disc sander
- Even sandpaper can be effective
Grinding material can contaminate your sample. Make sure you are using the correct type.
For example, tungsten carbide, zirconium oxide, and silicon-based materials can leave a residue that contaminates the sample and changes the results.
This especially impacts aluminum alloys with low silicon and zirconium.
So what is the recommended grinding medium?
Generally aluminum oxide will do best. We recommend a grit between 60 and 120 for proper grinding. Make sure you have a flat spot with a dry surface.
Keep grinding until you see the shiny clean metal, then wipe off the grinding residue.
Now take your shot at the clean spot. It won't disappoint!
Let’s talk patinas
On metal, patina is a coating of various chemical compounds such as oxides, carbonates, sulfides, or sulfates formed on the surface during exposure to atmospheric elements (oxygen, rain, acid rain, carbon dioxide, sulfur-bearing compounds).
While metal artists love the natural beauty of patina, for testing purposes, it needs to go.
Patinas on brass and aluminum can pose a problem. This is an oxide layer that can quickly form on the surface of these materials. It will be white and dusty on aluminum, and will actually look darker on brass.
Just like any other surface layer you are not expecting, patinas can cause problems.
- non-repeatable results
- false-positive
- or no matches at all.
Cast metal: if there is a rind, you must grind!
Lastly, cast metal has its own set of issues. You've got to grind it away.
As cast metal cools, the outside layer cools at a faster rate than the inside layer. This can create a skin or rind on the surface.
Imagine how an orange peel covers and contains the juicy fruit at the center. The peel and the fruit itself have very different compositions.
Just like an orange peel, the rind or skin on a surface can have very different chemistry then the bulk of the piece you are testing.
If you wanted to taste the sweetness of the fruit, you wouldn’t have an accurate flavor if you only bit the peel. Be sure to remove the outer layer to give yourself the confidence you are getting the most accurate result
Have an oddly shaped sample to test? It may be time to do some cutting.
While yes, it takes longer than grinding, it properly exposes the base metal, which is key to assuring you have the best possible surface to test.
Cutters can leave behind contaminants left on the cutter from previous samples, so only cut when needed.
Your quality result will justify the time spent here at this stage.
TIP 3: Use direct contact
Now that you have properly prepared a sample that is clean and ready for testing, direct contact is the next step in getting a great result.
This is even more relevant when it comes to LIBS or OES technologies as they need complete contact to vaporize the metal and read the light coming back properly.
XRF may be more forgiving, in that if you don't have complete contact, it will still be able to irradiate the sample and see some energy coming back. But it's definitely a best practice to keep complete contact no matter which technology you're using.
This assures you getting the best test which will provide the best reading of the light or energy that is coming back into the spectrometer.
TIP 4 (XRF Only): Keep testing times consistent
The next step is specifically for XRF.
Most XRF units allow you to determine the time that you take the test manually.
So for this first shot, you could hold the trigger for five seconds. Then for the next one, you could be holding it for 7 seconds and then, for example,15 seconds and so on.
This creates an additional variable that may affect the consistency of your results.
It is generally best practice to pick one time and stick with it for all your tests.
When times can vary
An example of when you may want to choose different lengths of testing times is if when you are testing, let's say aluminum versus steel.
The aluminum can be harder for XRF to read and it might need longer to get a good result, so make sure to familiarize yourself with how each metal reads and adjust accordingly.
If you are using the same length of testing time with the same material, you are going to get a more consistent, higher quality result.
Daily check samples are always recommended when it comes to confirming the health and performance of your analyzer. We generally recommend once at the beginning of the day and once at the end as well if you're using the instruments daily.
"You basically have to ask yourself, how many results are you willing to throw away if that next check sample doesn't read right?"
Chris Carolan
If that next check sample doesn't read right, how do you know that the analyzer was working properly through all the samples before it?
You don't really, so it's important to use your daily check samples properly.
The common misconception here is that if you are using your 316 stainless check sample or your aluminum 7075 then that will be enough to make sure all your results, no matter which metal you're testing, are going to be okay.
Not true.
If you are not testing either steel or aluminum, in those cases, the only thing that those samples are going to reliably tell you is that the analyzer is working properly for those particular materials.
If you test with those samples and then go on to test copper for example, if something has happened with the copper calibration, you will not be able to tell unless you're also checking with a copper standard.
These analyzers have different calibrations for different materials, so one calibration can be good while next there may be a trace element of another material and then the calibration is not reading right.
So whenever possible it is important to match like with like when confirming the health of your analyzer, to give you the confidence that you are getting the absolute best performance and result.
TIP 5: Keep your PMI device healthy
The last tip I want to go over is preventative maintenance and regular checkups for your PMI testing devices.
XRF
Are you cleaning or changing the window when you see that it's dirty?
What about when it's been ripped or something else has changed that can affect your results?
Depending on the age of the analyzer, many manufacturers recommend having an annual certification or biennial recertification done by a third party.
This should be based on your individual quality program. If you are using daily check samples on a regular basis and you see that the results are consistently good and reliable, you don't want to get into the habit of over certifying the analyzer.
LIBS
When it comes to LIBS it is all about keeping that window clean.
Depending on the material you are working with and the cleanliness of your environment, we recommend taking a cleaning swab and wiping down the window every 25 to 100 shots. For most analyzers, this process takes just a few seconds to do it right.
Because of the way LIBS analyzers are built and calibrated, the calibrations are very dependable and can last a long time.
Generally, there is no recommended recertification or recalibration schedule for LIBS analyzers, but again, this really depends on your quality control program.
With proper checks and standard use lives, analyzers can actually go years without recertification and recalibration.
Spark OES
For spark OES, a few basic rules to always keep in mind:
- everything must be clean.
- keep your electrode sharp
- argon gas should be pure.
You should always give your spectrometer some time to adjust to new environments.
For example, when you leave a climate-controlled shop and head out into the field, keep the temperamental nature of these analyzers in mind. If the 2 environments are very different, you may just need to take the time for it to adjust to the new surroundings to get a reliable result.
The temperamental nature of these analyzers leads to recommended annual recalibration and/or recertification.
Unless you have an OES super user that understands the technology at a very high level, it's best to have a third party take a look.
Laser OES
Luckily, laser OES avoids most of these issues.
The stability, lack of moving parts, and the fact that no consumable items are needed, make the behaviors of Laser OES and LIBS very much alike.
Laser OES also provides the ability to proactively monitor your components to provide true preventative maintenance.
You can do updates to the calibrations programs and software through the cloud without having to bring someone on-site or sending the instrument to the factory or Depot.
Sample prep, sample prep, sample prep.
I cannot stress this enough.
Prepare your samples properly!
- Use a check sample to monitor the health and performance of your analyzer.
- Compare like with like whenever possible.
- Keep your analyzer clean.
- Make sure shots are up to date with regular checkups.
- If the results start to look weird, get a second opinion.
Following these guidelines will give you the best results. Have confidence in your testing!
As always, thanks for spending some time with me. I’m Chris Carolan, from Metal Analysis Group, host of The Manufacturing Show.
I'm happy to answer any questions or provide recommendations, just connect with me on LinkedIn to chat about PMI, or anything metals!
Until next time, in case I haven’t been clear, never stop testing your metal!